You need to add rules to a security group for Ping or SSH to instance before launching Instance.
*Process
This process allow SSH and ICMP(Ping) access to an instance.
The rules in security group apply to the all instances in the project and they must be put in all projects except in the case of preventing access using SSH and ICMP.
- When you add rules please specify the protocol being used for destination port or source port.
 button after Project >Compute > Access& Security.
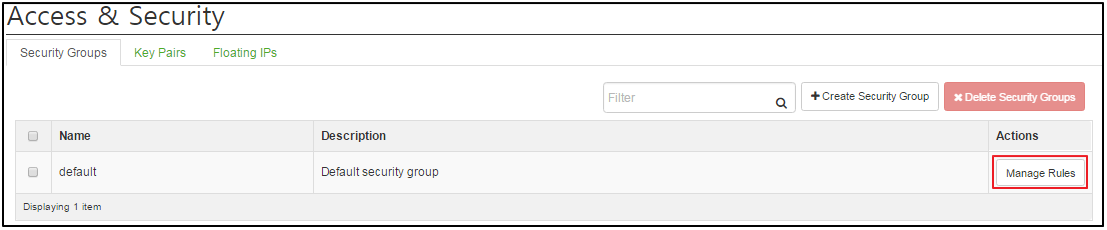
 button.
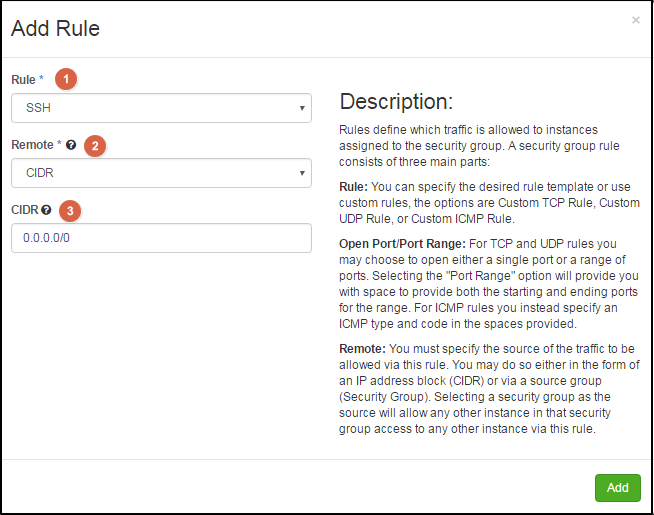
![]() Rule: Select SSH from the list.
Rule: Select SSH from the list.
![]() Remote: Select CIDR to specify the allowed range of security.
Remote: Select CIDR to specify the allowed range of security.
![]() CIDR: Type 0.0.0.0/0.
CIDR: Type 0.0.0.0/0.
- IP address to CIDR will be blocked to accept the request of specific range of IP address.
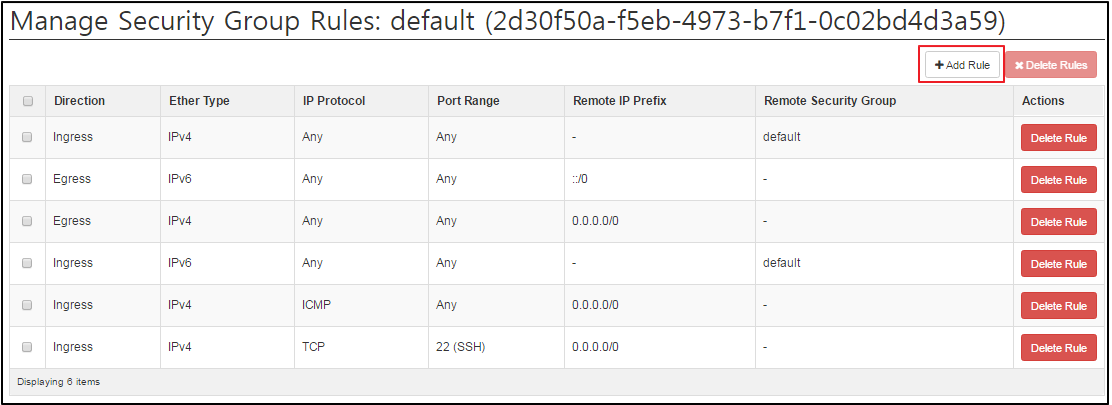
 button. As shown below, a new rule has been added.
![]()

![]() Rule: Select ‘All ICMP’ from the list.
Rule: Select ‘All ICMP’ from the list.
![]() Direction: Select ‘ ingress’.
Direction: Select ‘ ingress’.
![]() Remote: Select CIDR to specify the allowed range of security.
Remote: Select CIDR to specify the allowed range of security.
![]() CIDR: Type 0.0.0.0/0.
CIDR: Type 0.0.0.0/0.
 button. As you can see, new rules has been added; then, Instance receive all ICMP packets.
 ![]()
IXcloud utilizes a remote access with a key pair. To prevent any risks for managing instance, you need at least one key pair for each project.
If not, you might have some problems when you manage instances.
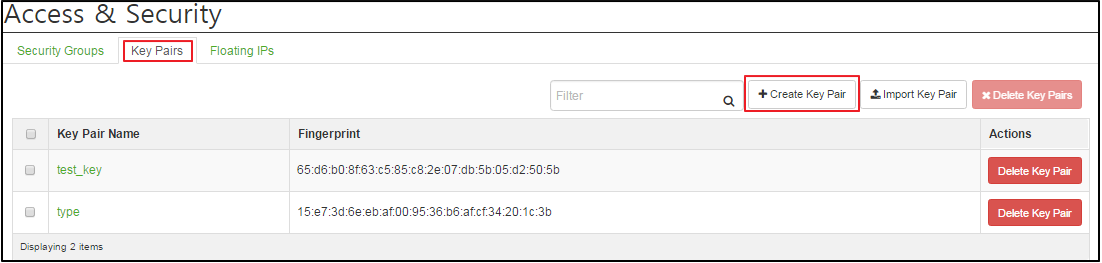
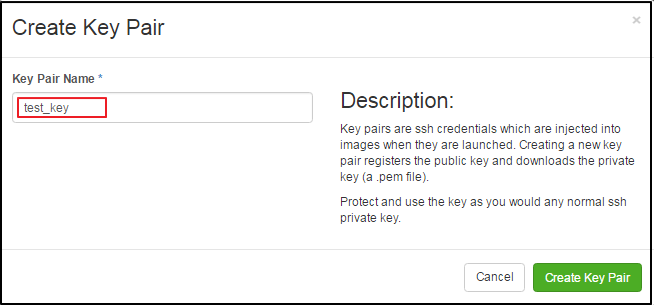

You need at least one key for each project
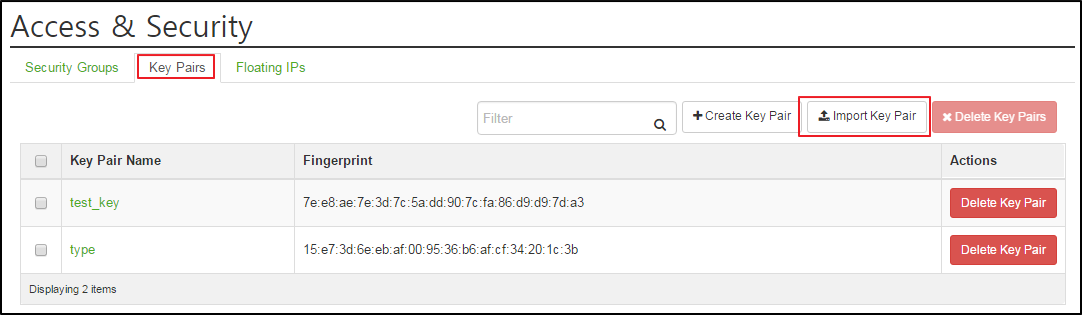
When you create a key pair by a tool, please import it from open stack. Key pair can be used for other instances in the project.

$ chmod 0600 yourPrivateKey.pem
- In case of opening a pem file, using a dash board on Widow OS, it uses PuTTygen and be saved as ‘.ppk’ format.
$ ssh-add yourPrivateKey.pem
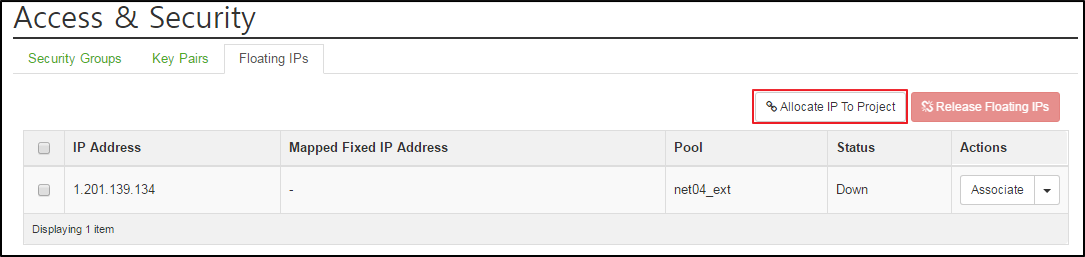
When an instance is created, static IP is allocated automatically to the network, to which instance is allocated.
IP address is permanently connected to an Instance until the instance is shut down.
However, you can connect to the instance using a floating IP address besides a static IP address.
You can change the connection of floating IP, regardless of instance’s state.
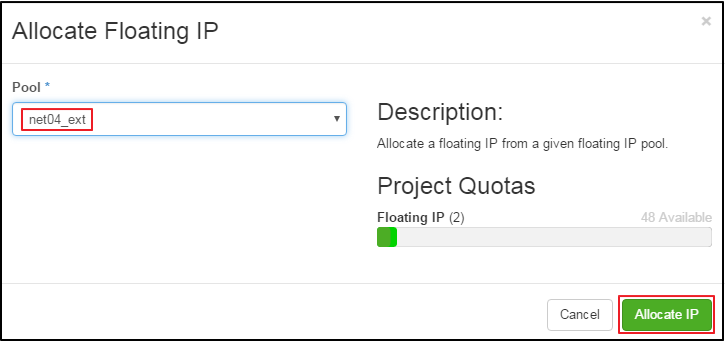
Note: One floating IP is offered free for each instance.
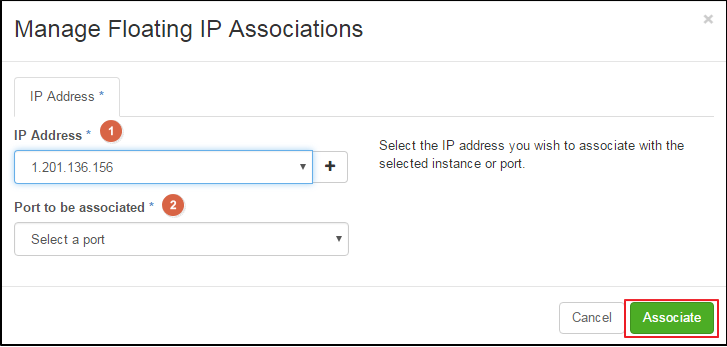
![]() IP Address: It has been filled automatically. You can add a new IP address with
IP Address: It has been filled automatically. You can add a new IP address with  button.
![]() Port to be associated: You can choose the port.
Port to be associated: You can choose the port.
|
KINX 21F, Gangnam Building, 396, Seocho-daero, Seocho-gu, Seoul, KOREA Service Inquiry : 02-526-0900(Press 1) Technical Inquiry : 02-526-0900(Press 2) |
|
|
|


