Instance management console (Linux & Windows)
To operate the created instance console, you need to choose a suitable way for OS installed on your computer.
Please note that the ways to access to instance console are different on each of Linux OS and Windows.
*Process
- Instance management console on Linux OS
- Instance management console on Window OS (Windows Server 2012 R2 Standard)
1. Instance management console on Linux
To manage the instance console on Linux OS, you have to connect to PuTTY, using a pem file.
- Prepare the files and program which is need for connection to PuTTy.
- pem. generated by IXcloud. Please refer to the 2. to add a key pair of ☞ 'Access & security componets of instance'.
- PuTTY.exe: (Download link)
- PuTTYgen.exe: (Download link)
If you want to download PuTTY from the homepage, please connect to http://www.chiark.greenend.org.uk/~sgtatham/putty/
*If the download link is not available, please use internet Explorer.
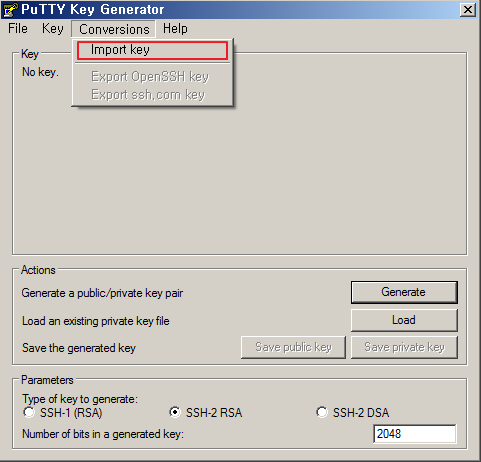
- Run PuTTYgen.exe
- In the upper menu, click Conversions -> Import key in the upper menu.
- In the select file pane, select a .pem file to save as .ppk. then, click 'Save private key’.
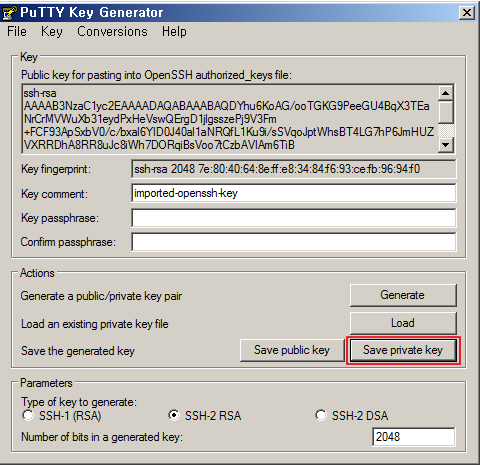
- Save the created .ppk file to the location you want, then run PuTTY.exe.
- Select ‘Category > Connection > SSH > Auth’ and click Browse on that pane.
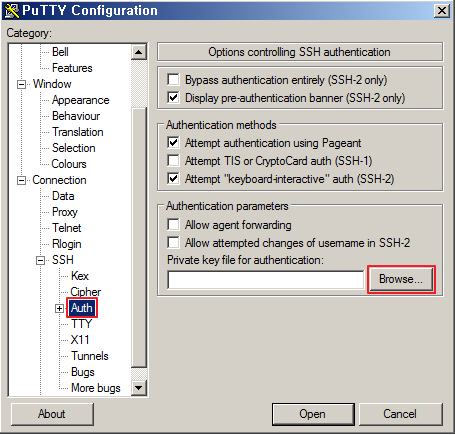
- Select .ppk file in the select file pane.
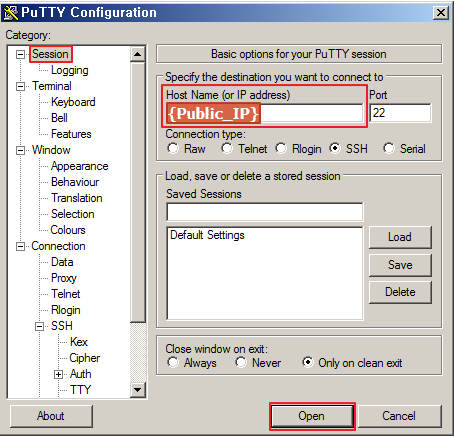
- After choosing, ‘Category>Session’ choose the floating IP connecting to the Host name (or IP address) and then, click ‘Open’.
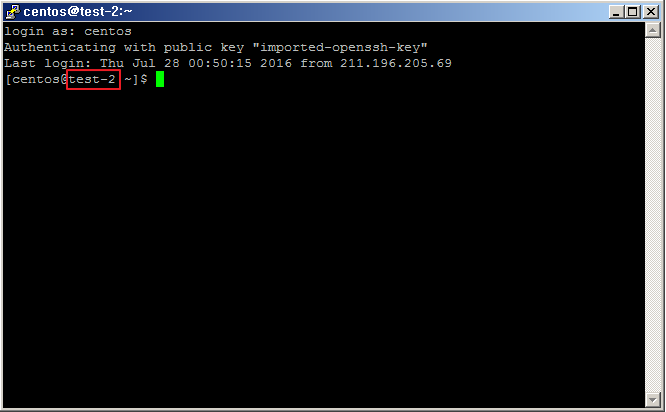
- When the log in pane appears, enter OS name you installed to the instance as shown below. (enter 'centos' if you have CentOS installed, or 'ubuntu' if you have Ubuntu installed.)

- The authorization operates automatically; connection to the instance,’test_2’ has been completed.
2. Instance management console on Windows (Windows Server 2012 R2 Standard)
In windows OS, there are two ways to manage Instance:
- Log on from the Instance console in IXcloud.
- Log on from Windows.
- Log on from the Instance console in IXcloud.
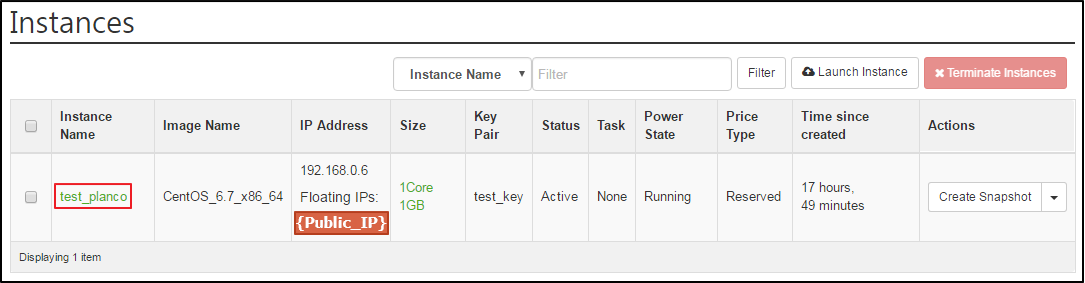
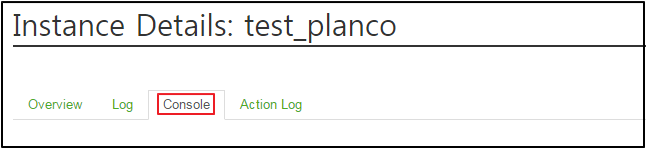
- Click the instance name after Project > Compute > Instance and continue to’ Console’ tab in the ‘Instance details’ page.
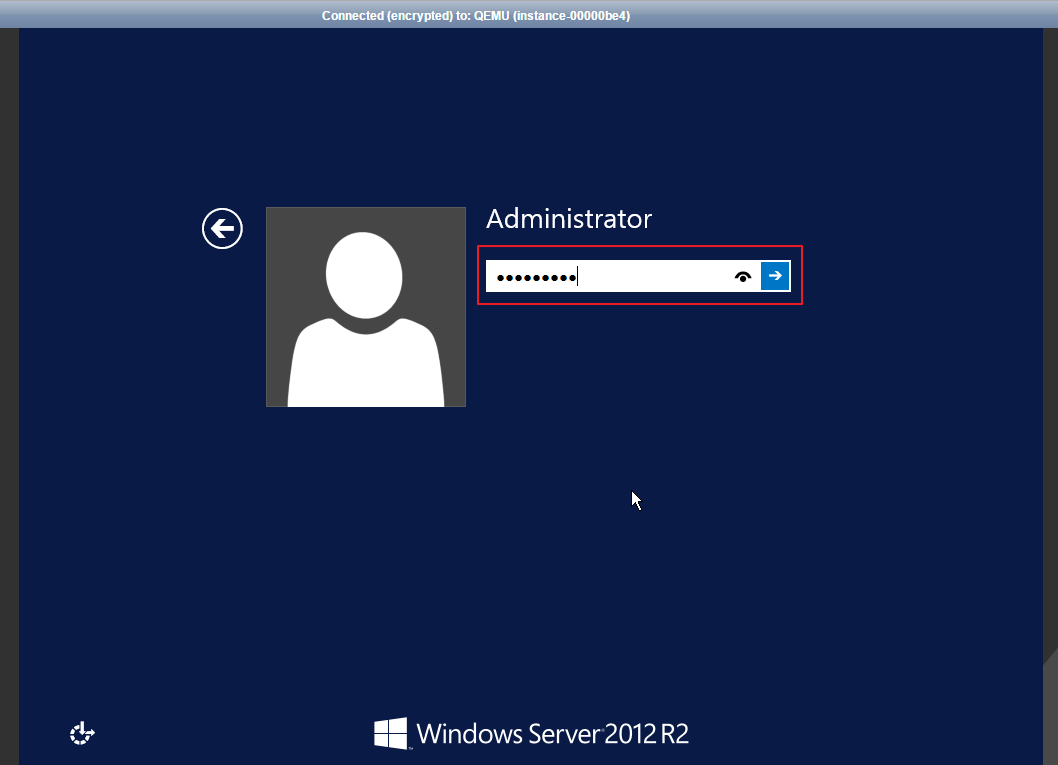
- Put password you want and log in. It takes 5-10 minutes to be prepared.
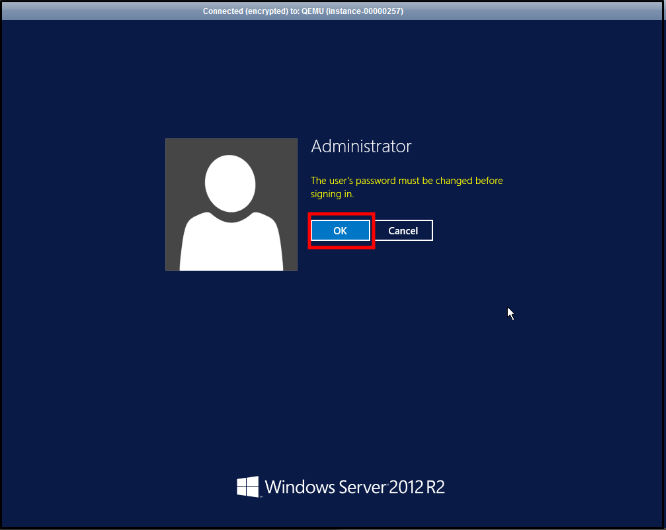
- Log in using the password.
- If you want to access to the Management Console using a public IP,
Choose Start > Remote Desktop Connection, or choose Start > Search and enter mstsc.
You can also press the shortcut key Win+R to open the Run window, enter mstsc, and then press Enter to start remote desktop connection.
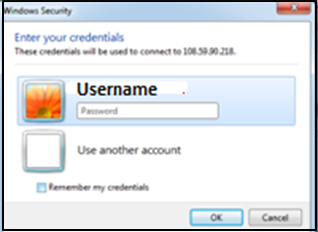
- In the Remote Desktop Connection dialog box, enter the public IP address of the instance.

- Log in to Instance console with an administrator account.
- The Remote access to the instance console has been completed.


|
KINX
21F, Gangnam Building, 396, Seocho-daero, Seocho-gu, Seoul, KOREA
Service Inquiry : 02-526-0900(Press 1)
Technical Inquiry : 02-526-0900(Press 2)
|

|

|

|