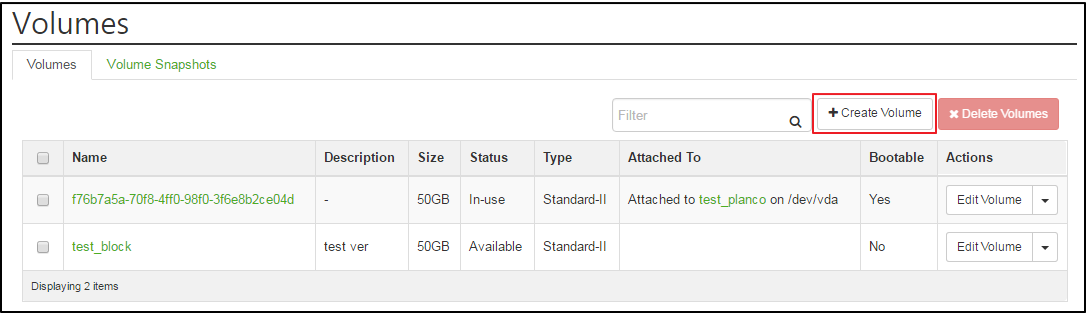
Volume is a storage connecting to an instance.
Users can connect or disconnect a volume to the operating instance, and reconnect to other instance whenever they want.
And also can create or remove snapshots.
*Process
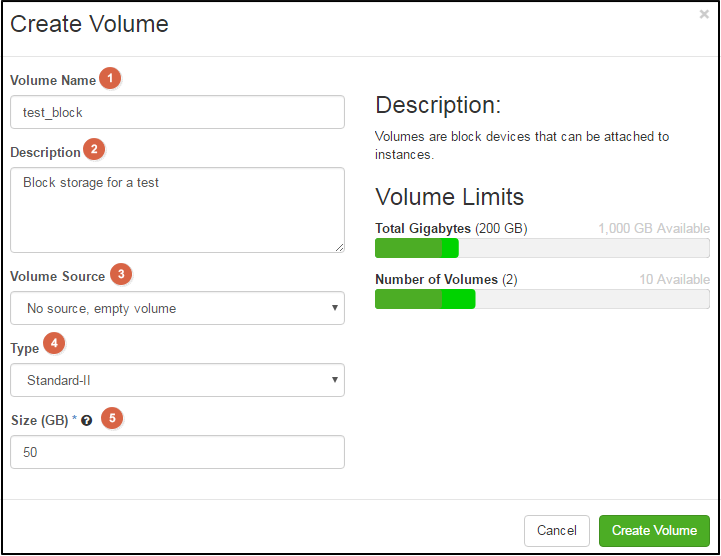
![]() Volume name: Specify volume name.
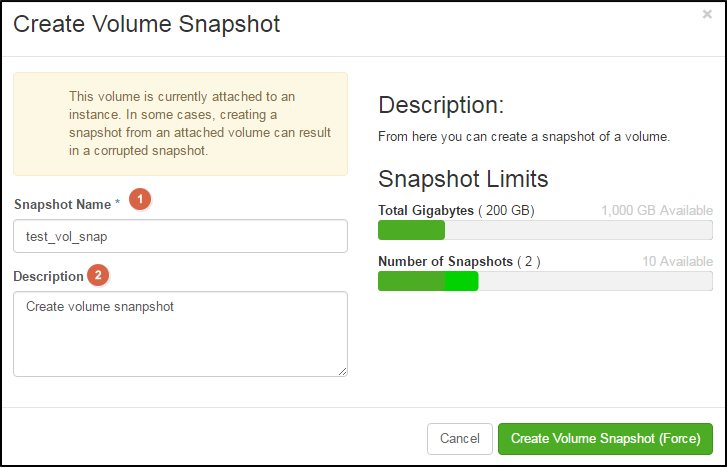
Volume name: Specify volume name.
![]() Description: It’s optional. Type a brief description.
Description: It’s optional. Type a brief description.
![]() Volume source: Choose on of following option:
Volume source: Choose on of following option:
No source, empty volume
Create an empty volume
Note: An empty volume file does not include a file system or partition table
Image
Use an image for sources.
Volume
Use a volume for sources.
![]() Type: Choose from Standard(a general specification) and Supreme(advanced one).
Type: Choose from Standard(a general specification) and Supreme(advanced one).
![]() Size (GB): Enter 50GB unit.
Size (GB): Enter 50GB unit.
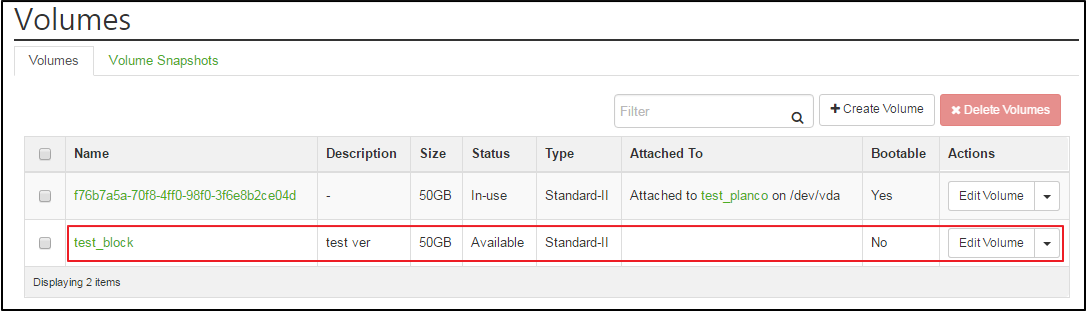
To connect to instance, you need at least one volume. You can connect one volume to an instance in a time.
*The original device name can be different with the chosen name according to a hypervisor setting.
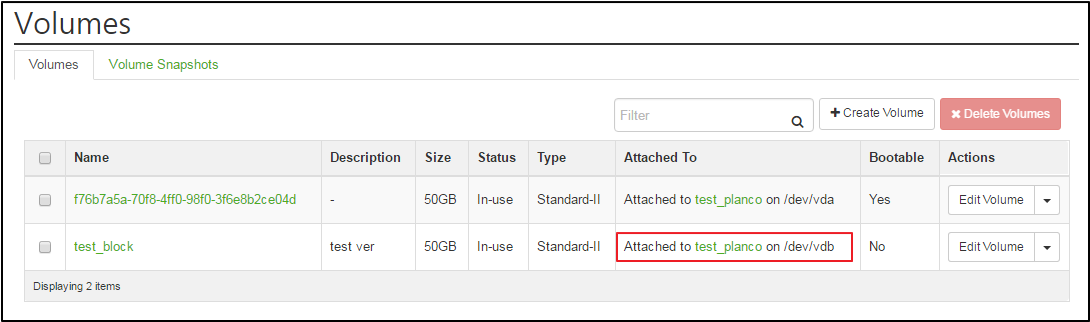
You can check the volume state. From now on you can operate, mount or format the disk.
3) Click ![]() button.
button.
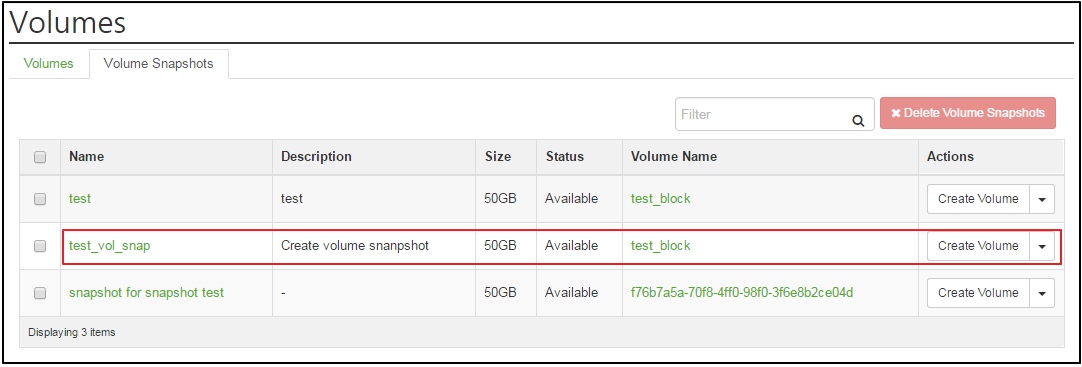
On the Volume snapshot tab, you can see the new snapshot: test_vol_snap.

3) Click ![]() button.
button.
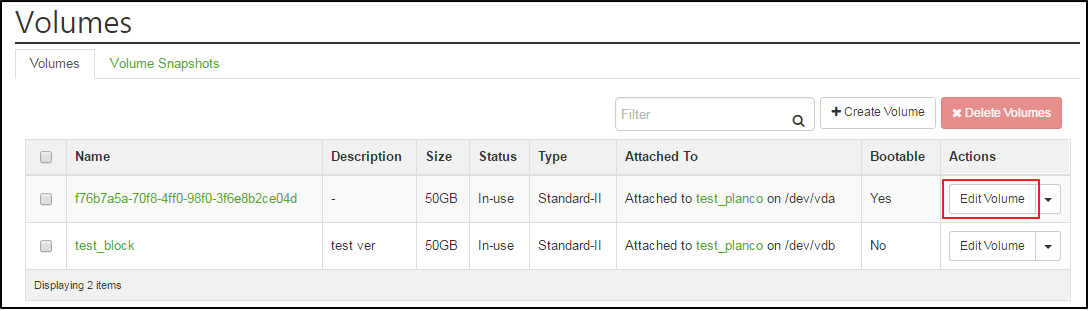
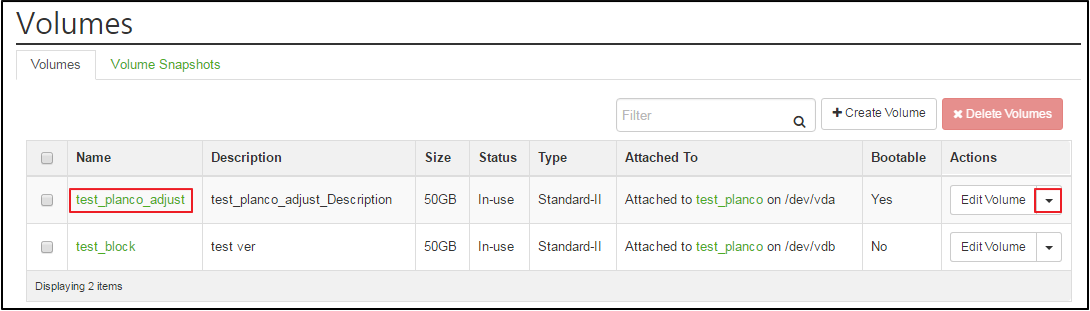
You can see the volume name has been changed from text_block to text block_adjust.
4) In the Extend volume dialog box, showing after clicking ![]() button, you can extend a volume to specify the volume size.
button, you can extend a volume to specify the volume size.
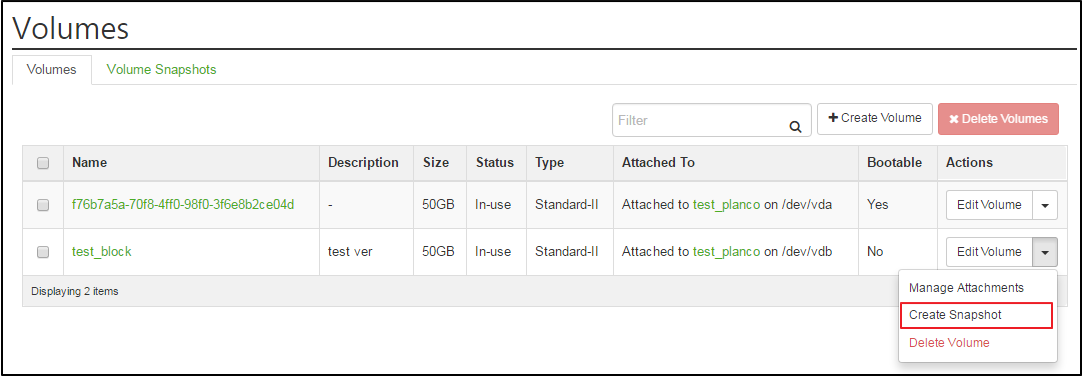
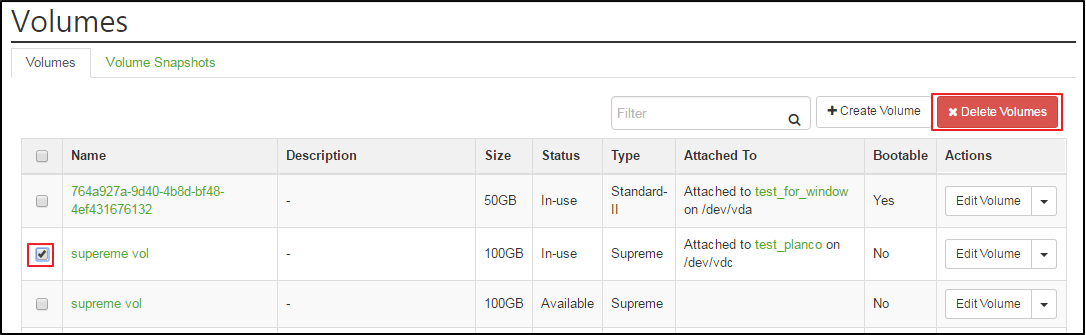
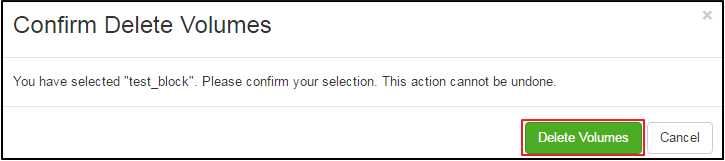
For this process, please click ![]() as shown below.
as shown below.
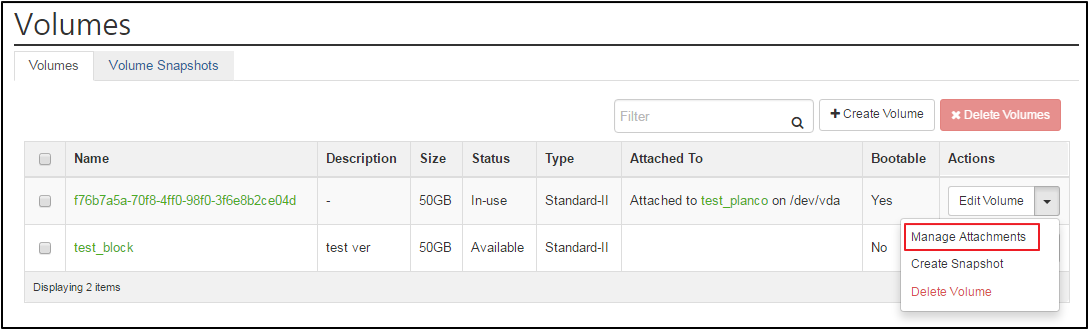
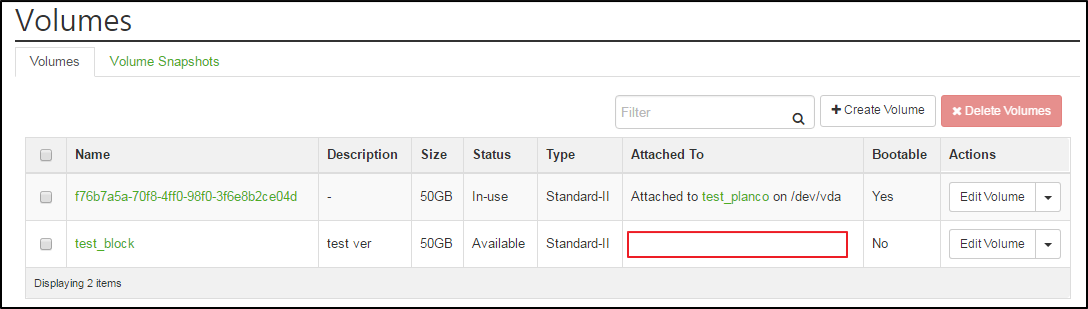
Even if you delete an instance, the connected volume data will not be damaged.
|
KINX 21F, Gangnam Building, 396, Seocho-daero, Seocho-gu, Seoul, KOREA Service Inquiry : 02-526-0900(Press 1) Technical Inquiry : 02-526-0900(Press 2) |
|
|
|


