IX cloud network service offers a scalable system to manage network connection for distributing Ixcloud.
Network service can respond effectively to a request. (e.g. creation and assignment of a new IP address)
*Process

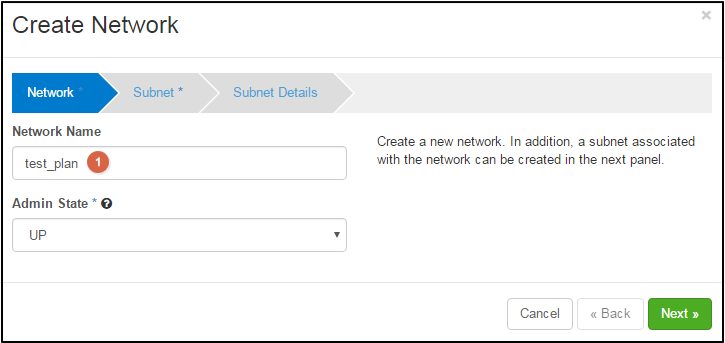
Network tab
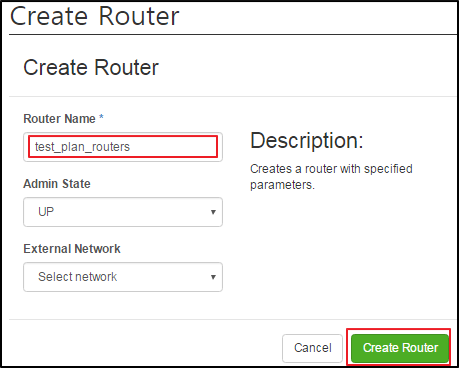
![]() Network Name: Type the distinguishable name of network.
Network Name: Type the distinguishable name of network.
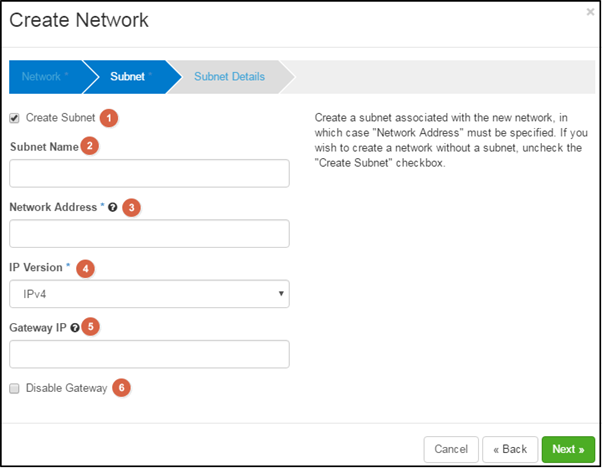
Subnet tab
![]() Create subnet: please select the check box to create subnet.
Create subnet: please select the check box to create subnet.
If you want to create network without subnet, please deselect the ‘create subnet’ check box.
![]() Subnet Name : Specify the name of subnet. In general 192.168.0.0 or 10.0.0.0 is used as private bandwidth.
Subnet Name : Specify the name of subnet. In general 192.168.0.0 or 10.0.0.0 is used as private bandwidth.
![]() Network Address: specify IP address of subnet.
Network Address: specify IP address of subnet.
.
![]() IP Version: select IPv4 or IPv6 as IP version.
IP Version: select IPv4 or IPv6 as IP version.
![]() Gateway IP: This is optional. If you have a specific gateway, specify the IP address.
Gateway IP: This is optional. If you have a specific gateway, specify the IP address.
If you don’t, just leave it blank.
![]() Disable Gateway: If you don’t want use a gateway, check ‘Disable gateway’ box.
Disable Gateway: If you don’t want use a gateway, check ‘Disable gateway’ box.
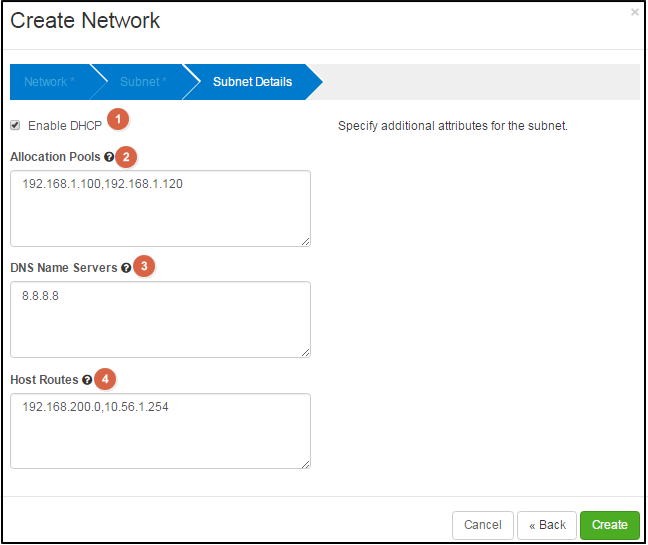
Subnet details tab
![]() Enable DHCP: If you want use DHCP, select this check box.
Enable DHCP: If you want use DHCP, select this check box.
![]() Allocation Pools: Specify IP address pools.
Allocation Pools: Specify IP address pools.
Each entry is: start_ip_address,end_ip_address (e.g.,168.1.100.192,168.1.120) and one entry per line.
![]() DNS Name Servers: Specify DNS name servers for this subnet.One entry per line. 8.8.8.8 is the name server of Google.
DNS Name Servers: Specify DNS name servers for this subnet.One entry per line. 8.8.8.8 is the name server of Google.
![]() Host Routes: Specify additional routes to the hosts. Each entry is: destination_cidr, nexthop (e.g.,192.168.200.0/24,10.56.1.254) and one entry per line.
Host Routes: Specify additional routes to the hosts. Each entry is: destination_cidr, nexthop (e.g.,192.168.200.0/24,10.56.1.254) and one entry per line.
3) Click ![]() button, then you can see the created network with the completion message.
button, then you can see the created network with the completion message.
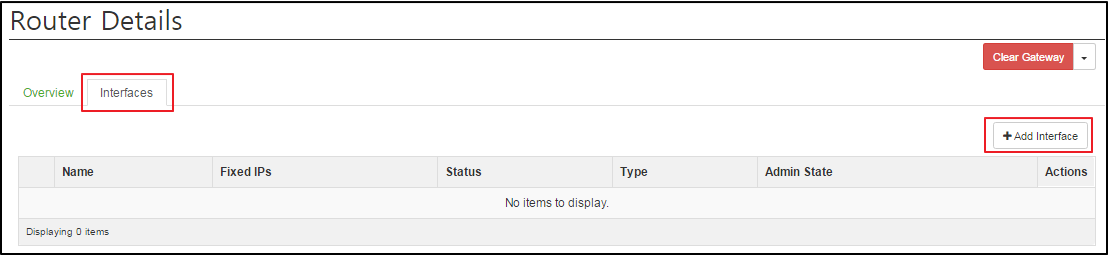
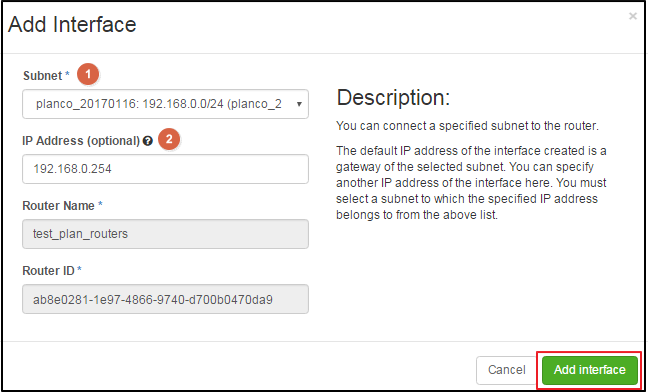
![]() Subnet: Select subnet.
Subnet: Select subnet.
![]() IP address: Specify an IP address for the interface created.
IP address: Specify an IP address for the interface created.
- If this lank is not set, generally the first IP address of the subnet will be used.
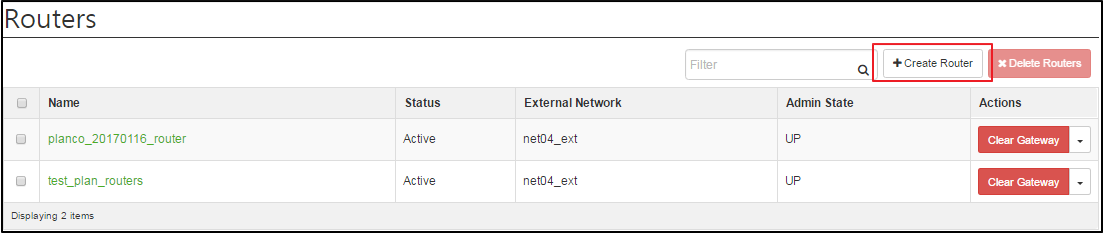
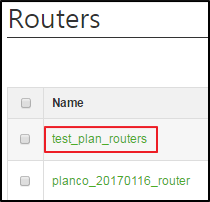
You can see the created router in ‘Network technology’ as well.
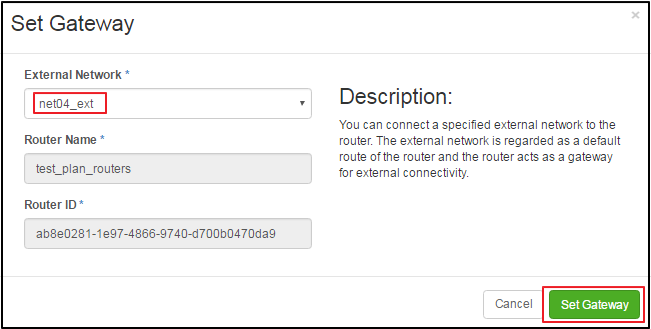
The router, test_plan_routers has been created; this is connected to an external network. (ext-net)
|
KINX 21F, Gangnam Building, 396, Seocho-daero, Seocho-gu, Seoul, KOREA Service Inquiry : 02-526-0900(Press 1) Technical Inquiry : 02-526-0900(Press 2) |
|
|
|


